Quick Facts
- Method: Mason jar with cheesecloth or mesh lid.
- Primary Benefit: Increases B-vitamin content up to 10 times and significantly improves nutrient bioavailability.
- Seed-to-Water Ratio: Approximately 1.5 to 3 tablespoons of organic seeds per quart-sized jar.
- Optimal Temperature: Maintain a stable environment between 65°F and 75°F.
- Growth Cycle: Most varieties are harvest-ready within 3 to 7 days.
- Storage Life: Fresh sprouts last 3 to 7 days in the refrigerator if stored bone dry.
- Key Nutrition Stat: Sprouting reduces phytic acid by 30% to 50%, unlocking essential minerals like magnesium and zinc.
To sprout seeds at home using the jar method, soak organic seeds in filtered water for 8 to 12 hours in a sterilized glass jar. After soaking, secure a cheesecloth lid and drain the water, then rinse and drain the seeds twice daily, keeping the jar at a 45-degree angle to ensure proper airflow and drainage until the sprouts reach the desired length. This simple home sprouting guide transforms dormant seeds into a nutrient-dense sustainable lifestyle staple that bridges the gap between raw plant potential and peak digestibility.
The Science of Sprouting: Unlocking Life Potential
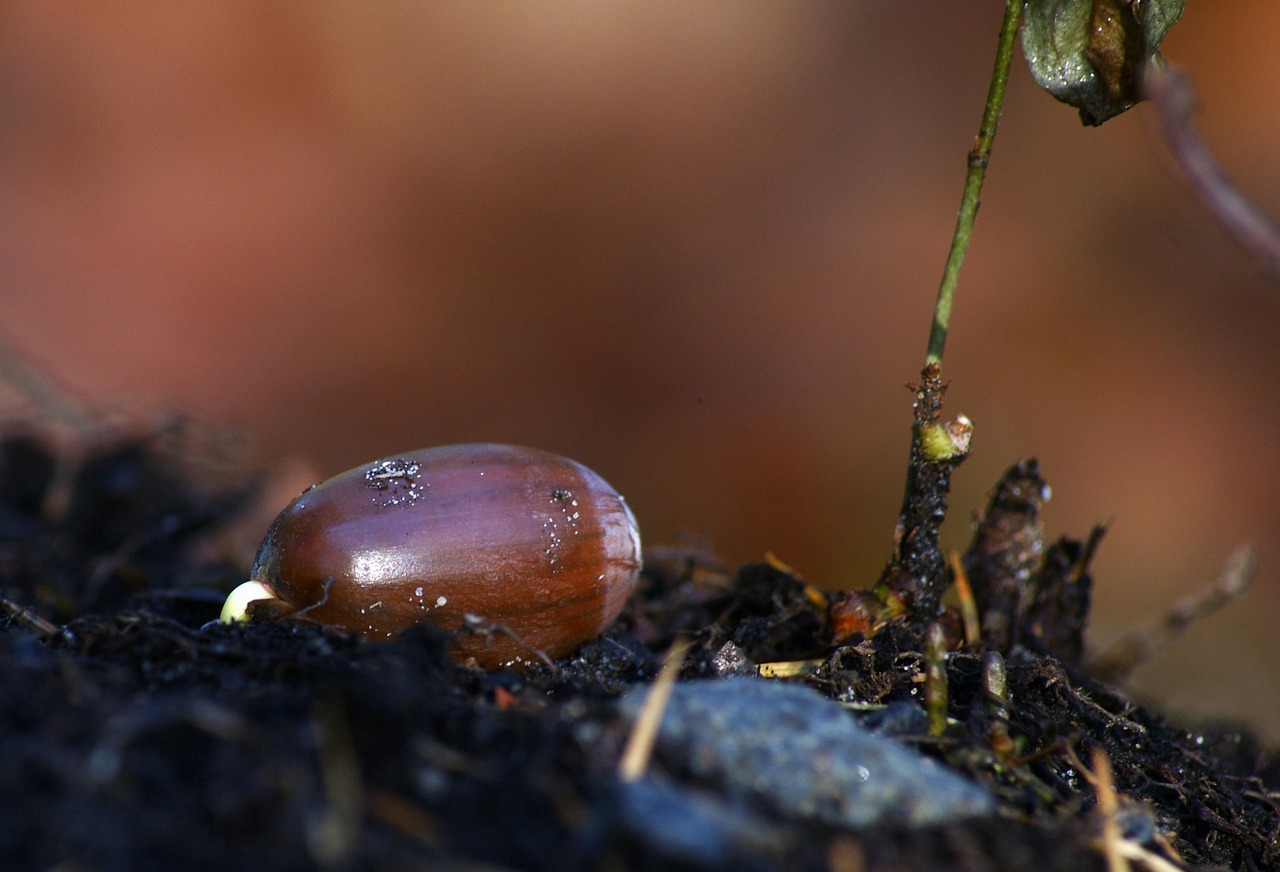
From a botanical perspective, a seed is a vessel of dormant life, protected by chemical defense mechanisms. These defense systems, often referred to as anti-nutrients, include enzyme inhibitors and phytic acid. While they serve to protect the plant until conditions are right for growth, they can interfere with human digestion and mineral absorption. When we learn how to sprout, we are essentially signaling to the seed that it is safe to wake up. This metabolic transition dramatically shifts the nutritional profile of the plant.
According to holistic nutritionist Sarah Britton, sprouted grains, seeds, and beans contain 15% to 30% more protein and up to 10 times the amount of B-vitamins compared to their unsprouted versions. This is not just a marginal gain; it is a total biological overhaul. As the seed germinates, it begins to break down complex starches into simpler carbohydrates and proteins into more accessible amino acids.
The most compelling health benefits of sprouting seeds for nutrient absorption lie in the reduction of phytic acid. This compound is known to bind to minerals in the digestive tract, preventing their uptake. Scientific research indicates that the sprouting process can reduce phytic acid by 30% to 50%, thereby increasing the bioavailability of essential minerals like iron, zinc, and magnesium. Furthermore, studies show that sprouting can increase the vitamin C content in certain legumes by 4 to 38 times and improve protein digestibility by up to 20%. By integrating these living foods into your diet, you are consuming a pre-digested form of holistic nutrition that honors both ancient traditional herbal remedies and modern clinical evidence.
Getting Started: The Essential Sprouting Pantry
Before you begin your journey into kitchen gardening, you must assemble the correct tools. The beauty of the sprouting jar method instructions is their simplicity. You do not need expensive specialized equipment to produce high-quality hyper-local produce; you likely have most of these items in your pantry already.
Pantry Essentials Checklist
- Organic Seeds: Always choose seeds labeled specifically for sprouting to ensure high germination rates and safety.
- Glass Mason Jar: A wide-mouth quart-sized jar is the industry standard for home sprouting.
- Breathable Lid: Use a square of cheesecloth secured with a rubber band or a stainless steel mesh sprouting lid.
- Filtered Water: Since seeds absorb the water they soak in, using non-chlorinated, filtered water is vital for seed germination.
- Drainage Rack: A simple dish rack or a dedicated sprouting stand that allows the jar to sit securely at a downward angle.
One of Sarah Britton's expert tips for successful sprouting is to avoid overcrowding. While it might be tempting to fill a jar with seeds, remember that they will expand between 6 and 10 times their original volume. Starting with just 1.5 to 3 tablespoons of seeds per quart jar ensures there is enough room for airflow and growth. This prevents the sprouts from becoming a compacted, wet mass, which is the primary cause of spoilage. Selecting the best seeds and legumes for easy home sprouting—such as mung beans, lentils, or alfalfa—will also guarantee a higher success rate for beginners.
Step-by-Step Guide: The Jar Sprouting Method
The key to mastering how to sprout is consistency. Think of your sprouts like a low-maintenance pet; they need to be fed (rinsed) and allowed to breathe. The following step by step guide for how to sprout seeds at home breaks down the process into manageable phases that respect the biological rhythm of the plant.
The Sprouting Timeline
| Phase | Action | Duration | Why It Matters |
|---|---|---|---|
| Phase 1: The Soak | Submerge seeds in 2-3 times their volume of water. | 8–12 Hours | Rehydrates the seed and triggers the end of plant dormancy. |
| Phase 2: Rinsing | Rinse with cool water and drain thoroughly twice daily. | Days 1–5 | Removes metabolic waste and provides fresh moisture. |
| Phase 3: The 45-Degree Rule | Propping the jar at a downward angle after every rinse. | Ongoing | Essential for airflow optimization and preventing stagnant water. |
| Phase 4: Greening | Move to indirect sunlight for the final 24 hours. | 24 Hours | Develops chlorophyll and boosts nutrient bioavailability. |
For those following sprouting jar method instructions for beginners, the most critical moment is the transition from the initial soak to the rinsing cycle. After the 8 to 12-hour soak, you must drain the water completely. From this point forward, the seeds should remain moist but never submerged. Rinsing twice a day—once in the morning and once in the evening—keeps the seeds hydrated while washing away CO2 and any bacteria that may attempt to colonize the warm, moist environment.

Maintenance & Troubleshooting: The Rinse Rhythm
Maintaining the health of your sprouts requires an awareness of their environment. The ideal temperature for most seeds is between 65°F and 75°F. If your kitchen is particularly warm, you may need to increase the frequency of your rinses to three times a day to prevent the seeds from overheating or drying out.
A common concern for beginners is identifying the difference between spoilage and healthy growth. Many seeds, particularly broccoli and radish, develop tiny white "root hairs" that can look like white fuzz or mold. These are perfectly normal and are simply the plant's way of searching for water. However, if you notice a slimy texture, a pungent or sour smell, or dark brown/black spots, these are signs of spoilage. In such cases, it is best to compost the batch and start over with a cleaner jar and fresher seeds. Proper airflow optimization through the 45-degree angle rule is your best defense against these issues.
The Final Touch: Greening and Harvesting
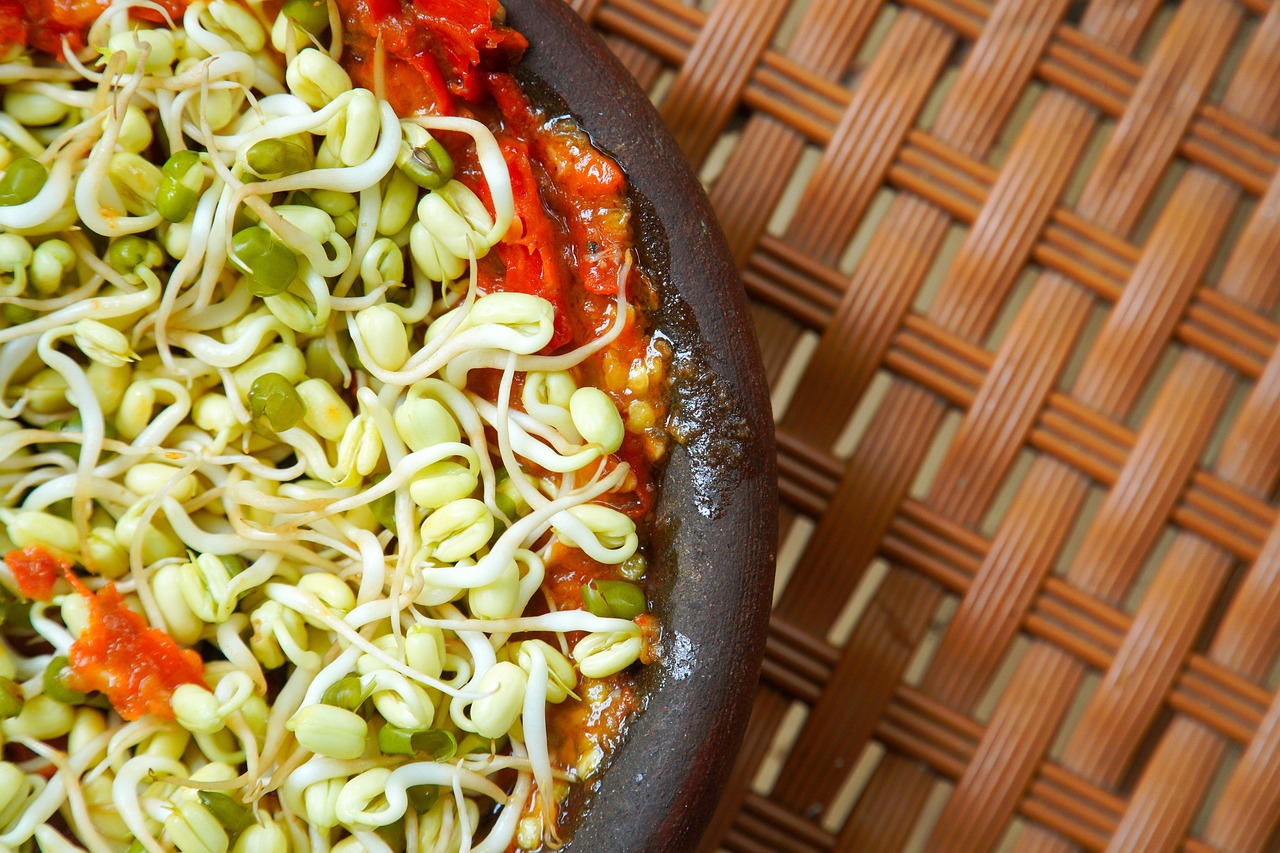
The final stage of the process is often the most rewarding. Once your sprouts have reached the desired length—usually about an inch for lentils or two inches for alfalfa—it is time for the "greening" phase. Move your jar from its usual dark spot on the counter into indirect sunlight. This exposure triggers photosynthesis, allowing the tiny leaves to develop chlorophyll. This not only enhances the flavor, giving it a fresh, peppery bite, but also adds another layer of nutrient density to your harvest.
Before you harvest, give your sprouts one final, thorough rinse. This is the moment to remove any unsprouted seeds or loose hulls if they bother you, though they are perfectly edible. The most important rule of the final touch is the "bone dry" rule. After the final rinse, you must let the sprouts drain and air dry for at least eight hours. You can spread them out on a clean kitchen towel or a paper towel-lined tray. Storing sprouts while they are still wet is a recipe for rapid decay.
Storage & Safety: Preventing Spoilage
Knowing how to store homegrown sprouts to prevent spoilage is just as important as the growing process itself. Once your sprouts are completely dry to the touch, transfer them into an airtight glass jar or a specialized produce container. If stored correctly, most sprouts will maintain their crunch and nutritional integrity for 5 to 7 days in the refrigerator.
From a food safety perspective, it is important to acknowledge that raw sprouts have been associated with foodborne illness in the past. To minimize risk, always use sterilized equipment, source high-quality organic seeds, and maintain rigorous rinsing schedules. For those with compromised immune systems, lightly steaming the sprouts before consumption provides a safety net while still retaining the majority of the benefits of sprouting seeds.
Sprouting Troubleshooting Table
| Issue | Likely Cause | Solution |
|---|---|---|
| Sour or Musty Odor | Poor drainage or lack of airflow. | Increase rinse frequency; ensure 45-degree angle. |
| Slimy Texture | Excess moisture or old seeds. | Ensure sprouts are bone dry before storage; check seed age. |
| Slow Growth | Temperature is too cold. | Move the jar to a warmer spot (near a fridge or toaster). |
| White Fuzz on Roots | Normal root hairs (not mold). | Continue rinsing; they often disappear when wet. |
FAQ
How do you sprout seeds at home?
To sprout seeds at home, place organic seeds in a glass jar and cover them with filtered water for a soak of 8 to 12 hours. After the initial soak, drain the water and secure a mesh or cheesecloth lid. Rinse the seeds with fresh water and drain them twice daily, propping the jar at a 45-degree angle to allow for drainage and air circulation. Continue this process for 3 to 7 days until the sprouts reach your preferred length.
What are the best seeds for sprouting?
The best seeds for beginners include mung beans, lentils, chickpeas, alfalfa, and radish seeds. These varieties tend to have high germination rates and are relatively hardy. As you become more comfortable with the process, you can branch out into broccoli seeds, which are prized for their high sulforaphane content, or ancient grains like quinoa and amaranth.
How long does it take for seeds to sprout?
The timeframe varies depending on the seed variety and the ambient temperature of your kitchen. Most small seeds like alfalfa and clover take 5 to 7 days, while larger legumes like lentils and mung beans are often ready in 2 to 4 days. Warmer temperatures generally accelerate the process, while cooler environments slow it down.
Do you need special equipment for sprouting?
No special equipment is required to start. A wide-mouth Mason jar, a piece of cheesecloth, and a sturdy rubber band are sufficient. While you can purchase specialized sprouting lids and stands that help with the 45-degree drainage angle, they are not strictly necessary for a successful harvest.
How do you store fresh sprouts?
Fresh sprouts should be air-dried for at least 8 hours after their final rinse. Once they are bone dry, place them in an airtight glass container or a breathable produce bag and store them in the crisper drawer of your refrigerator. Including a dry paper towel in the container can help absorb any residual moisture and extend shelf life.
Are raw sprouts safe to eat?
Raw sprouts are generally safe for healthy individuals when grown in a clean environment with proper rinsing techniques. However, because the warm and humid conditions required for sprouting are also ideal for bacteria like Salmonella and E. coli, there is a small risk. People with weakened immune systems, pregnant women, and young children may prefer to cook their sprouts briefly to eliminate any potential risk.
If you are ready to transform your kitchen into a living larder, there is no better guide than the principles laid out by Sarah Britton. Starting your own kitchen garden through sprouting is not only a cost-effective way to access premium nutrition but also a deeply satisfying way to connect with the cycles of nature. Whether you are tossing a handful of spicy radish sprouts onto a salad or blending sprouted lentils into a creamy hummus, you are embracing a lifestyle that prioritizes vitality and holistic wellness.